Maintain titles and occupations, build the medical history form, medications and questionnaire, and organise documents, check lists, image types and composite layouts.
Who it is for: practice managers and administrators.
In this guide:
- Tidy the titles and occupations lists
- Build the medical history form
- Maintain medications and the questionnaire
- Organise documents with classifications
- Create check lists for patient processes
- Set image types and composite layouts
1. Tidy the titles and occupations lists
You can add titles with the right greeting and gender, and keep the occupations list sensible.
Why this matters The title chosen for a patient or user decides how letters greet them (“Dear Dr Patel”) and pre-fills gender. Occupations can matter clinically, for example musicians who play wind instruments, contact sports players, or people working with sugar such as confectioners, and they help with mail shot targeting.
Where to find it Utilities › Housekeeping › Titles and Occupations.
How to – titles
- Click + (Create New Title).
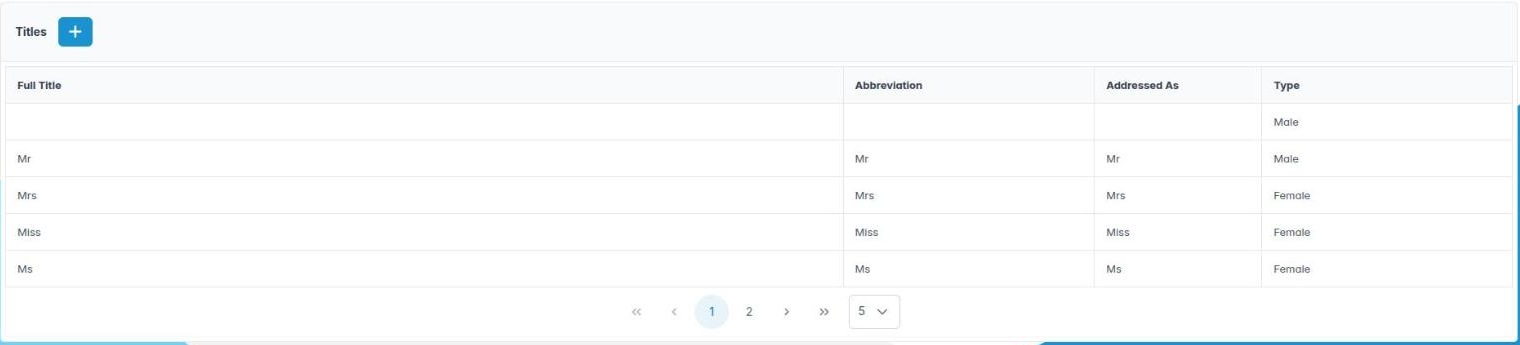
- Enter the Full title (for example “Reverend”), the Abbreviation (“Revd”) and Addressed As (how letters greet them).
- Set Gender to Male, Female or Ask. Ask means staff must choose the gender each time, which suits “Dr” or “Mx”.
- Click OK, then Save. Right-click to Edit Title or Delete Title.
How to – occupations
- Click + (Create Occupation), enter the Description and click OK.
- Right-click to Edit Occupation or Delete Occupation, then Save.
Good to know
- The Titles table shows Full Title, Abbreviation, Addressed As and Type.
- Keep lists short; long lists slow reception down and lead to inconsistent data.

2. Build the medical history form
You can maintain the list of medical conditions and choose which appear on the medical history form, in order.
Why this matters A current, signed medical history is essential before treatment: conditions such as anticoagulant therapy, bisphosphonates, allergies or a heart valve replacement change what is safe. The CQC and indemnity providers expect it to be updated at every course of treatment. A well-ordered form helps patients answer accurately.
Where to find it Utilities › Housekeeping › Medical Conditions. Needs Medical Conditions (AID_HK_MEDICAL_CONDITIONS).
How to
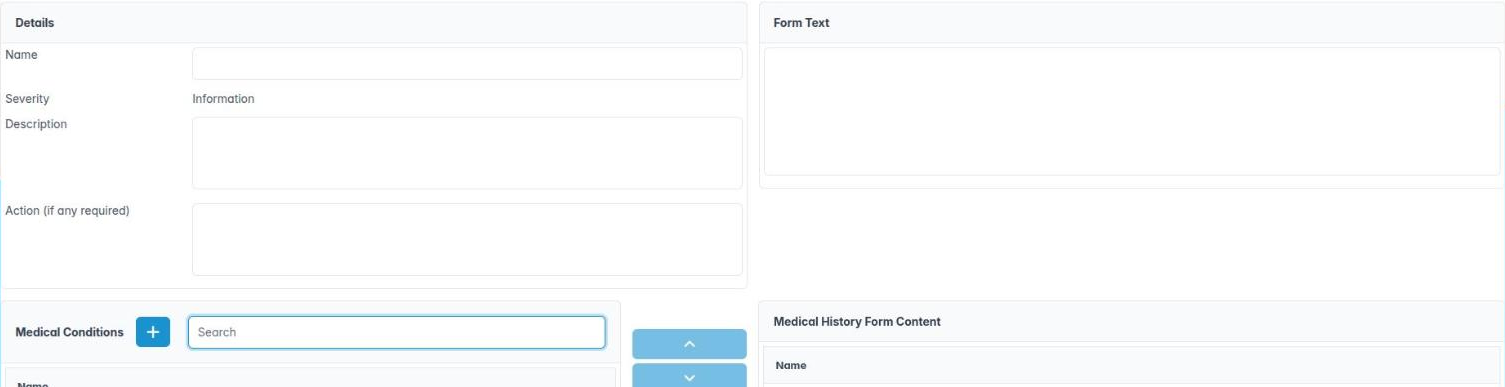
- Click + (Create New Medical Condition). Enter Name, choose Severity (Information, Warning or Hazard), add a Description, an Action (if required) for the clinician and the Form Text patients see. Tick Form Header to make it a section heading instead of a question. Click OK.
- Select a condition on the left to see its Details and Form Text.
- Use Add Condition to Form to put it on the Medical History Form Content list, and Remove Condition from Form to take it off. Clear Form Content empties the form.
- Use Move Condition Up and Move Condition Down to set the order.
- Right-click to Edit Medical Condition or Delete Medical Condition, then Save.
Good to know
- Warning and Hazard conditions show as alerts on the patient record.
- The same list feeds the online medical history forms: Insert medical history questions in the Form Designer uses the conditions on this form, in this order.
More detail: Housekeeping medical conditions.
3. Maintain medications and the questionnaire
You can keep the medications list current and build the practice questionnaire.
Why this matters A standard medications list makes recording what a patient takes faster and more consistent, so warnings are not missed because a drug was misspelt. The questionnaire collects non-medical information such as dental anxiety, smoking, alcohol and diet, which supports Delivering Better Oral Health advice and risk-based recalls.
Where to find it Utilities › Housekeeping › Medications and Questionnaires. Both need Medical Conditions (AID_HK_MEDICAL_CONDITIONS).
How to – medications
- Click + (Create New Medication), enter Code, Name and Description, then OK.
- Right-click to Edit Medication or Delete Medication, then Save.
How to – questionnaire
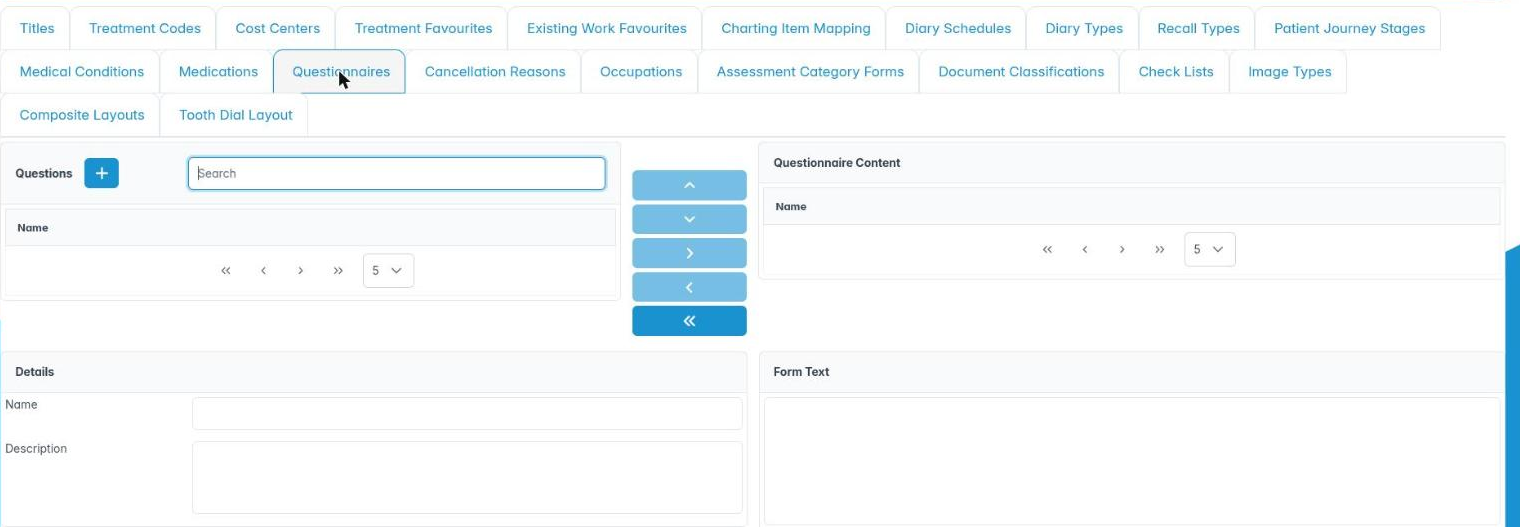
- Click + (Create Question). Enter Name, Description and the Form Text the patient reads. Tick Questionnaire Header for a section heading. Click OK.
- Use Add Condition to Form, Remove Condition from Form, Clear Form Content, Move Condition Up and Move Condition Down to build Questionnaire Content (the buttons share their names with the medical history screen).
- Right-click to Edit Question or Delete Question, then Save.
Good to know
- Completed questionnaires are reviewed under Compliance › Questionnaires.
- Keep questions short and in plain English.

4. Organise documents with classifications
You can create the categories used to file patient documents and uploads.
Why this matters Over the years a patient record gathers referral letters, hospital replies, lab dockets, consent forms, scanned medical histories and photographs. Classifications (file categories) let staff find the right document quickly and support retention rules: NHS guidance is to keep adult dental records for at least 11 years, and children’s until age 25 or 11 years, whichever is later.
Where to find it Utilities › Housekeeping › Document Classifications. Needs Assessment Categories (AID_HK_ASSESSMENT_CATEGORIES).
How to
- Click + (Create New Document Classification).
- Enter a Code, a Description (for example “Referral – incoming”) and a Color.
- Click OK, then Save.
- Use Search to find one, and right-click to Edit Document Classification or Archive Document Classification. You’ll be asked: Archive Referral – incoming? It will no longer be offered, but anything that already uses it keeps it. Click Yes, then Save. (Ticking Archived in the edit dialog does the same.)
- Tick Show archived to see archived classifications. They are greyed. Right-click one and choose Restore Document Classification to offer it again, then Save.
Good to know
- Classifications are archived, never deleted, so documents already filed under one keep it.
- Classifications are used by uploads, Form Designer File Upload fields, Image Types default categories and check list auto-ticks.
- A short list (8–12) works better than a long one.

5. Create check lists for patient processes
You can build check lists from a catalogue of items and set items to tick themselves.
Why this matters Check lists make sure nothing is missed on multi-step processes: a new patient pack, an implant pathway (consent signed, CBCT taken, lab booked) or an orthodontic start (records, IOTN, consent). Ticks are kept per patient, so anyone can see what is outstanding.
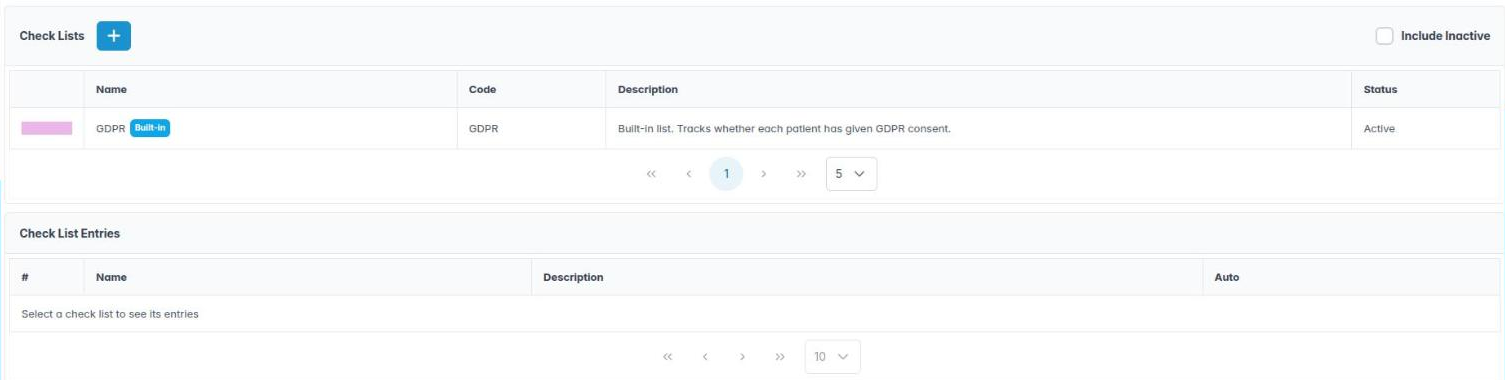
Where to find it Utilities › Housekeeping › Check Lists. Changes save when you click OK.
How to
- In Check List Items, click + (Create New Check List Item). Enter Name, Code and Description. Optionally set Complete on form (a published form) or Complete on upload category (a document classification) so the item ticks itself. Tick Active, then OK.
- In Check Lists, click + (Create New Check List). Enter Name, Code, Description, a Colour, and choose Check List Entries into On this check list (top to bottom). Click OK.
- Right-click a list or item to edit or delete it. Tick Include Inactive to see retired ones.
Good to know
- A list a patient has ticked, or an item used in a list, is made Inactive rather than deleted.
- The built-in GDPR list and its “GDPR consent given” item are protected: you cannot delete them or change their code.
- Mail shots skip patients whose GDPR consent is not ticked.
- Staff tick lists on the patient’s Check Lists tab or in the appointment.
6. Set image types and composite layouts
You can define the image types used to label clinical photos and build layouts for composite images.
Why this matters Orthodontic and cosmetic cases rely on standard photo series: extraoral frontal and profile, intraoral views, OPG. Image types label each photo; composite layouts arrange a series into one sheet for treatment planning, referrals or before-and-after records.
Where to find it Utilities › Housekeeping › Image Types and Composite Layouts.
How to – image types
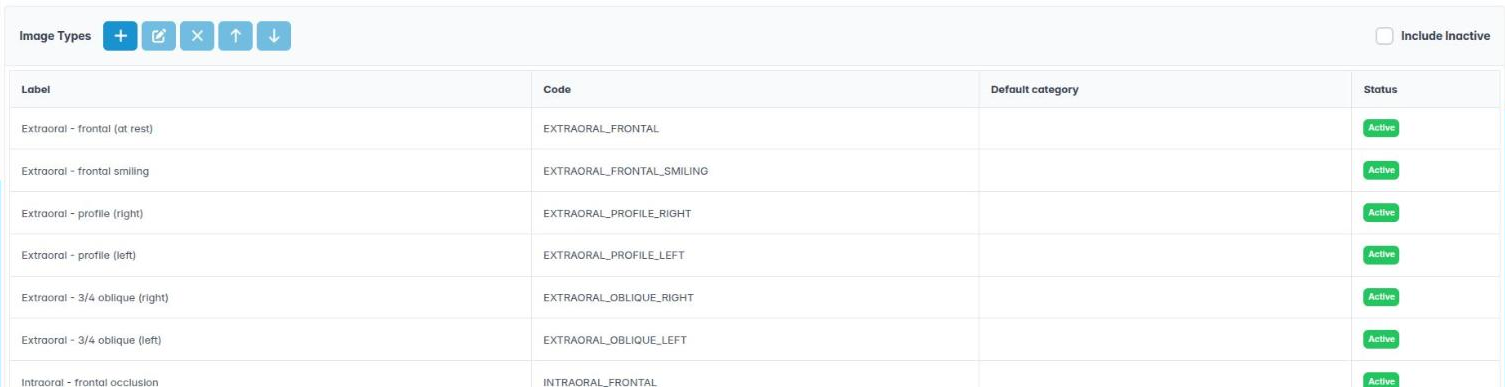
- Click Create New Image Type. Enter Label and Code (the code cannot be changed later), choose a Default category and tick Active. Click OK.
- Select a type and use Edit Image Type, Deactivate Image Type / Reactivate Image Type, Move Up or Move Down, from the buttons or right-click.
How to – composite layouts
- Click New Layout. Enter Name, Description, Rows and Columns.
- Select cells and use Join or the split buttons to shape the grid; for each cell choose its Image type, Fit and Caption.
- Click Save. Built-in layouts cannot be changed: use Save as copy. Delete removes your own layouts.
Good to know
- Deactivated types stay on existing images but are no longer offered.
- Composites already built keep their own copy of a layout, so deleting it does not affect them.