Personalise the Practice Control Centre and patient record tabs, and import payments from a bank spreadsheet.
Who it is for: practice managers and administrators, clinicians, dental nurses, receptionists.
In this guide:
- Choose the buttons on the Practice Control Centre
- Choose which patient record tabs you see
- Import payments from a bank spreadsheet
1. Choose the buttons on the Practice Control Centre
You can change which shortcut buttons appear on the Practice Control Centre and reset them.
Why this matters The Practice Control Centre is the home screen everyone sees after signing in. Putting the jobs your team does most, such as Practice Diary, Find Patients, Recalls Due or Daily Cash Book, on its buttons saves clicks all day.
Where to find it Utilities › PCC Customisation. Needs AID_PCC_CUSTOM.
How to
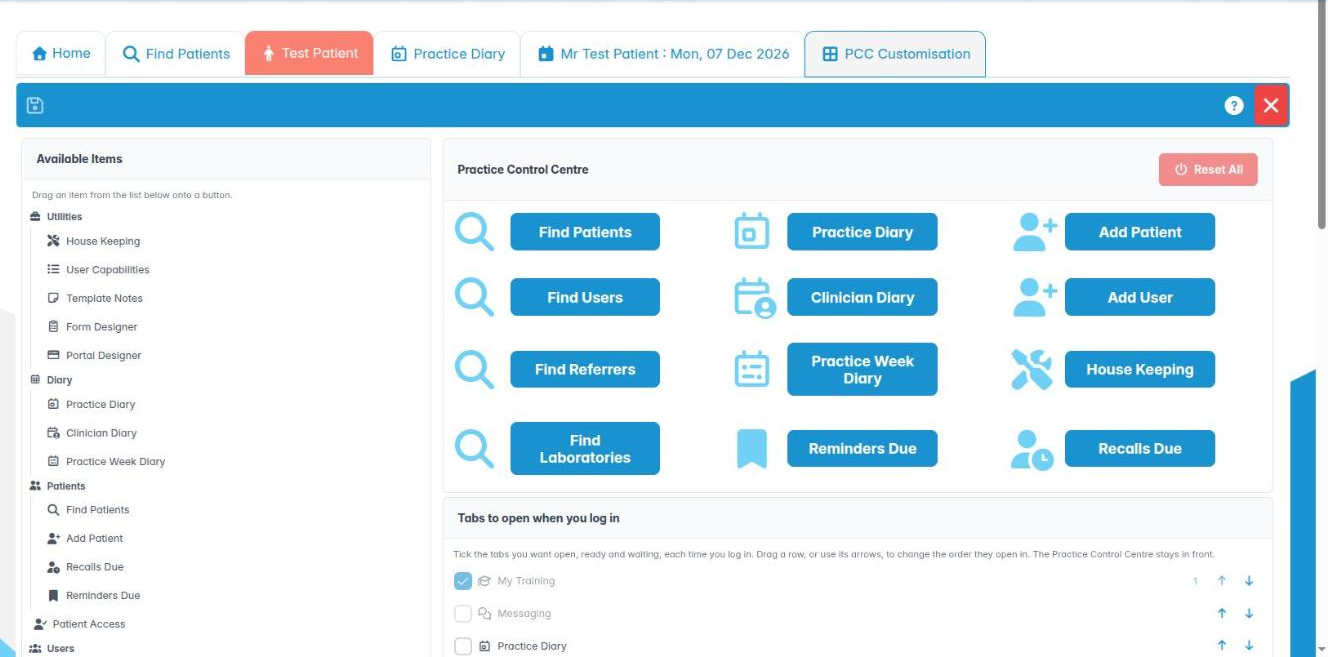
- The left panel, Available Items, lists every action you are allowed to put on a button.
- The right panel, Practice Control Centre, shows the twelve button slots.
- Drag an item from Available Items onto a slot (Drag an item from the list below onto a button). On a tablet, tap the item, then tap the slot.
- On a slot, use Restore this slot’s default to put its original button back, or Empty this slot to leave it blank.
- Click Save. Click Exit to close; you are asked about unsaved changes.
- Reset All (Reset PCC Layout) restores every slot to the default after you confirm.
Good to know
- The layout is saved for you, for this practice, in this browser. Colleagues set their own.
- Items you do not have permission for are not offered, so a button never leads somewhere you cannot go.
2. Choose which patient record tabs you see
You can hide and reorder the tabs on the patient record to suit your job.
Why this matters A receptionist rarely needs the Perio or Ortho tabs; a hygienist may want Perio and Med. History near the front. Hiding the tabs you never use makes the patient record quicker to work with. Every tab still enforces its own permissions.
Where to find it Utilities › Patient Tabs. Anyone can use it.
How to
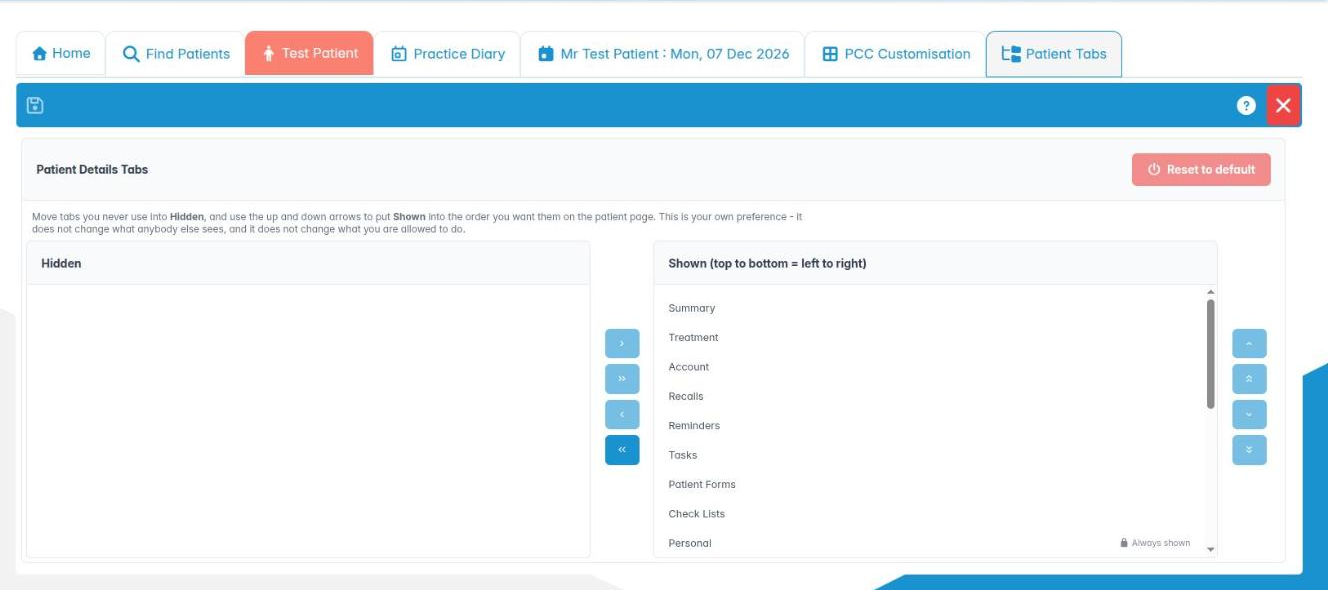
- The two lists are Hidden and Shown (top to bottom = left to right).
- Move tabs between the lists with the arrow buttons.
- Reorder the Shown list; the top tab appears first, on the left.
- Click Save.
- Reset to default (Reset Patient Tabs) shows every tab again in the standard order.
Good to know
- Personal cannot be hidden: it is the patient’s identity, and if you try, it is put back with a warning. You can still move it.
- The choice is personal to you, for this practice.
- New tabs added in future updates appear automatically in your Shown list.
3. Import payments from a bank spreadsheet
You can upload a payment spreadsheet, approve the matched rows and create patient payments.
Why this matters Patients on membership or payment plans often pay by standing order or through a finance provider. Typing each payment in is slow and error-prone. Upload Payments reads the spreadsheet from your bank or accounting software and creates the patient payments in one go.
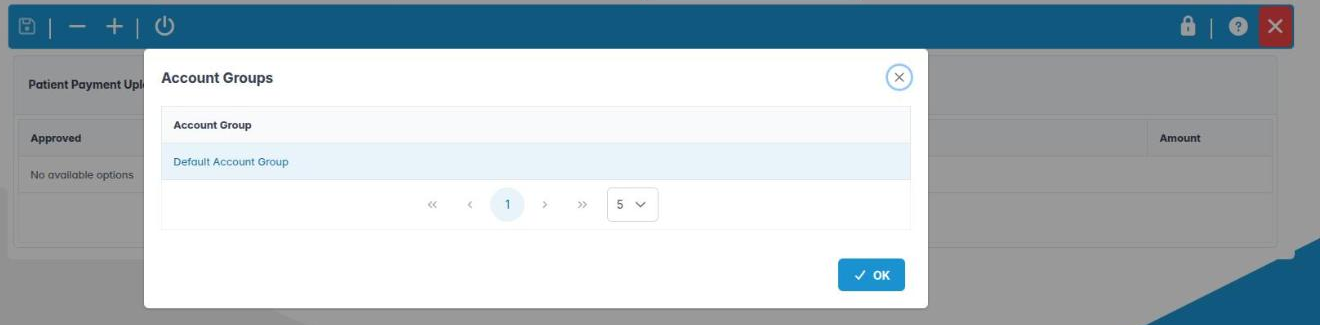
Where to find it Utilities › Upload Payments. Needs Upload Payment Reconcilliations (AID_UploadPayments). Set the spreadsheet columns first in Preferences › Accounting › Quick Books Payment Import.
How to
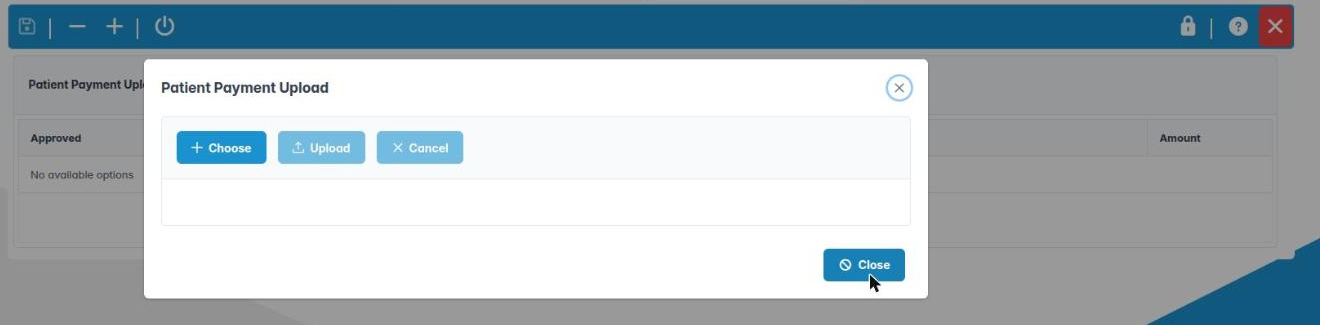
- Click Choose payment upload file and pick the
.xlsxor.xlsfile. - Rows appear with Approved, Date, Patient ID, Payee Name, Patient Name and Amount.
- Check each match. Tick Approved on the rows to import, or use Set All Approvals / Clear All Approvals.
- Click Create Patient Payments and confirm.
- Update spreadsheet password changes the password used to open protected files.
Good to know
- Rows without a matched patient are not imported; find the patient and add the payment manually.
- Check the total against the bank statement before you confirm.
- Run the Daily Transactions report afterwards to check the result.