
The Images tab keeps a patient’s X-rays and photographs. This guide shows how to upload images, find them, open them, edit them without losing the original, and put several together in a composite. The pictures use made-up test images on a test patient in a demo practice.
1. The Images tab

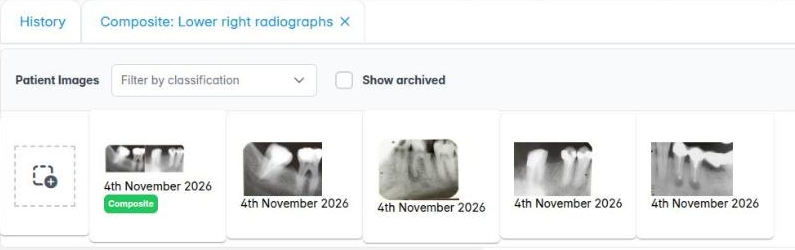
Open the patient record (or an appointment) and click Images. Each image shows as a thumbnail with its date. Along the top:
- Filter by classification shows only the images with the classifications you tick.
- Show archived shows archived images too (see Archiving and restoring).
- New composite opens the composite editor.
- + Select All and − Deselect All.
- Download selected images: one image downloads as itself, several as a zip file.
- Transfer selected images moves them to another patient.
- The red × Archive selected images.
2. Uploading images
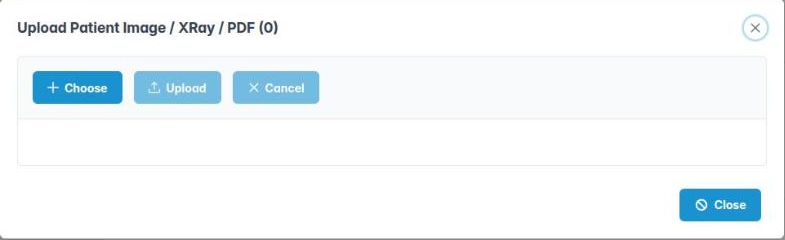
Click Upload Patient Image / XRay / PDF on the patient toolbar. In the window, click Choose (or drag files into it), pick one or more images or PDFs, set each file’s classification and, for images, its Image type, then click Upload.
Each file can be up to 20 MB, and up to 50 MB in total. The image type button can apply one type to every image in the list.
Quicker: drag image files from your computer onto the dashed tile at the start of the Images tab. They are uploaded straight away, without a classification or type, which you can set afterwards.
3. Finding an image
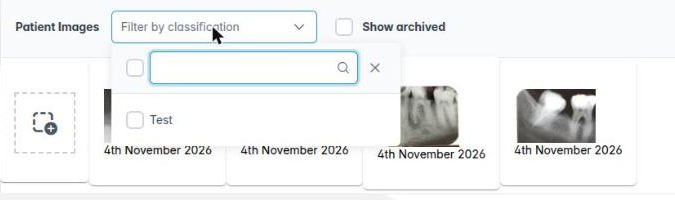
Click Filter by classification and tick the classifications you want; type in the box to search the list, and click × to clear it. Only matching images are shown.
Rest the pointer on a thumbnail to see its name and image type.
4. Opening an image
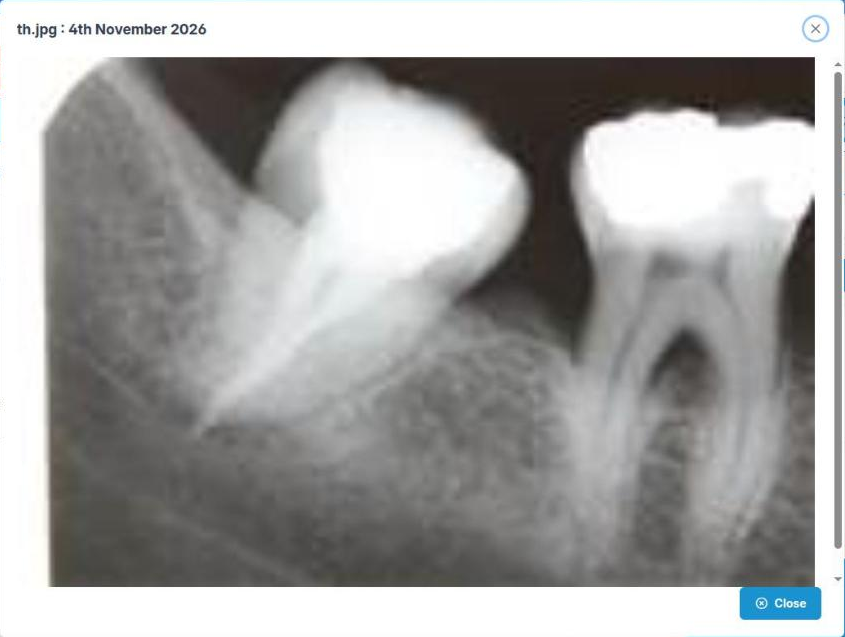
Click a thumbnail to open the image in a larger window, with its name and date at the top. Click Close when you have finished. You can open several at once.
5. The image menu
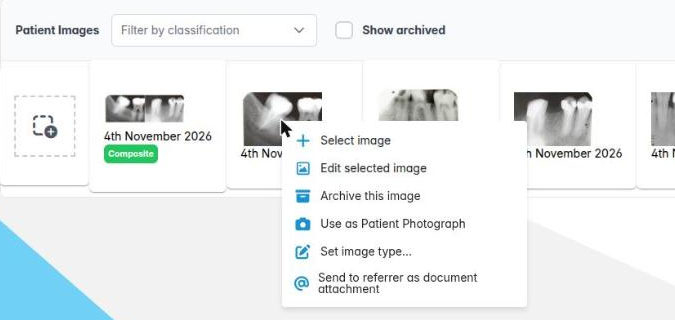
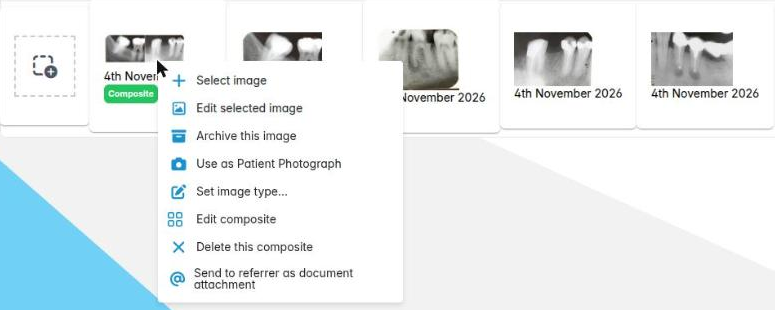
Right-click a thumbnail for everything you can do with it:
- Select image / Deselect image, for the toolbar buttons.
- Edit selected image opens the image editor.
- Archive this image.
- Use as Patient Photograph.
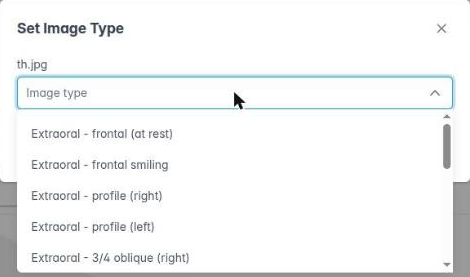
- Set image type…
- Send to referrer as document attachment.
Set image type… says what the image shows, for example Intraoral – upper occlusal or Radiograph – OPG. The composite editor uses the type to put images in the right place.
6. Editing an image
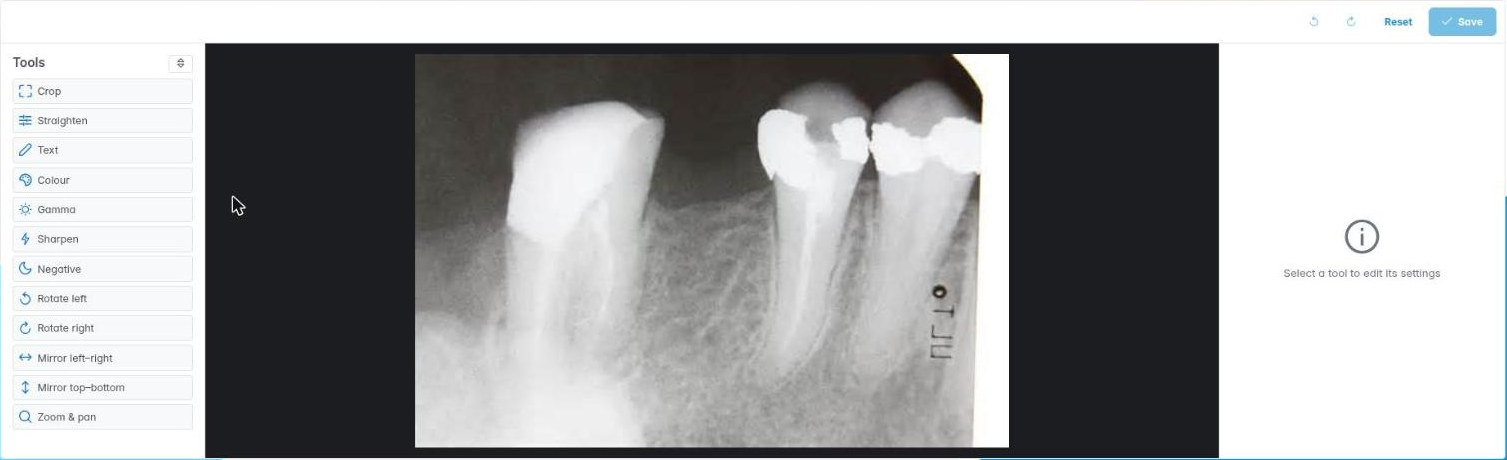
Right-click an image and choose Edit selected image (JPEG and PNG images). The editor opens in its own tab. Choose a tool on the left and set it on the right:
- Crop, Straighten, Rotate left / right, Mirror left–right / top–bottom and Zoom & pan.
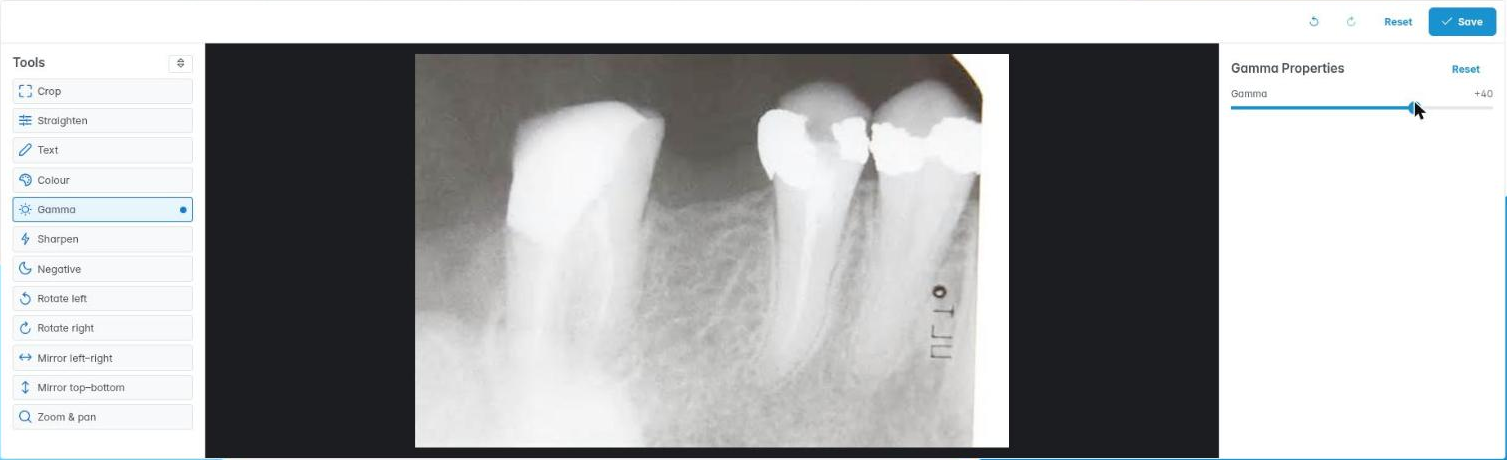
- Colour (brightness, contrast, saturation, warmth and tint), Gamma, Sharpen and Negative.
- Text adds a label, such as the patient’s name, date of birth and ID, or today’s date.
A tool you have changed shows a dot. Use the arrows at the top right (or Ctrl+Z / Ctrl+Shift+Z) to undo and redo, Reset to start again, and Save when you are happy.
The original is never changed. The first save makes an edited copy, marked Edited on the Images tab; saving again updates that copy.
7. Archiving and restoring
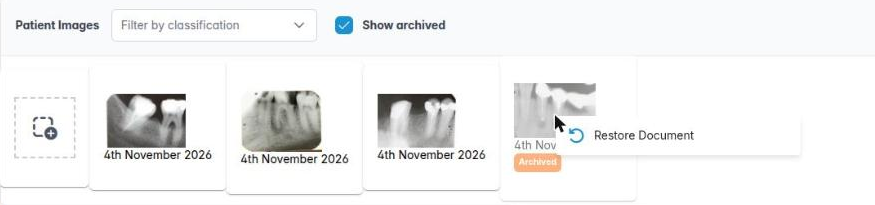
Images are archived, not deleted. Right-click an image and choose Archive this image, or select several and click the red ×, then Yes. The image stays in the patient’s record but is hidden.
To bring it back, tick Show archived. Archived images are faded and tagged Archived; right-click one and choose Restore Document.

8. The composite editor
A composite puts several of the patient’s images together in one picture, such as a set of intraoral photographs or two radiographs side by side. Click New composite on the Images tab; the editor opens in its own tab.
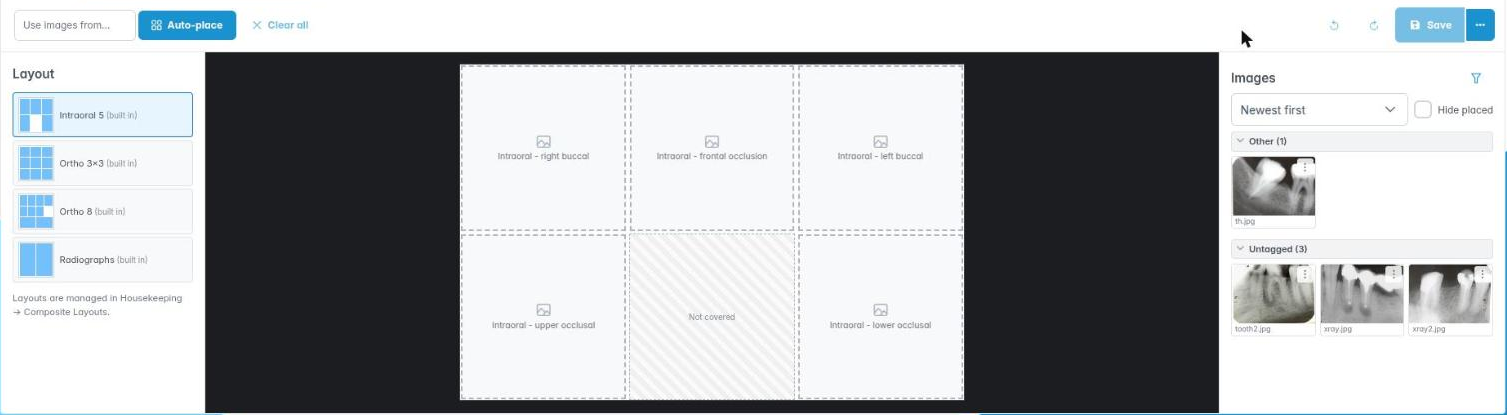
- Choose a layout on the left, for example Intraoral 5, Ortho 3×3, Ortho 8 or Radiographs. Each cell is named for the image type it expects. Layouts are set up in Housekeeping › Composite Layouts.
- Drag images from the Images list on the right onto the cells. A placed image gets a tick; tick Hide placed to see only the rest.
- Auto-place fills the cells by matching image types, and Use images from… limits it to images from a date. Clear all empties every cell.
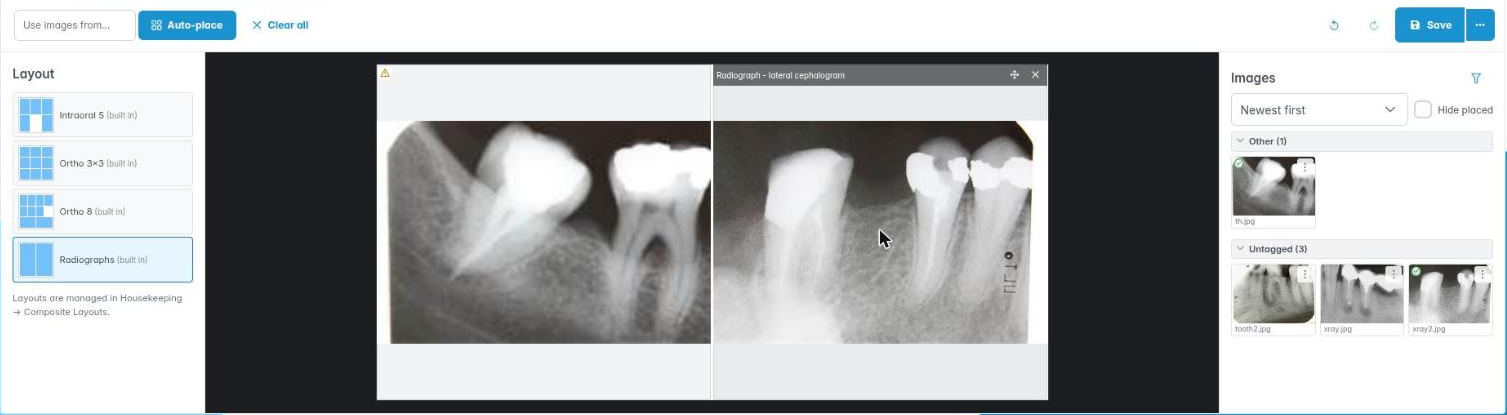
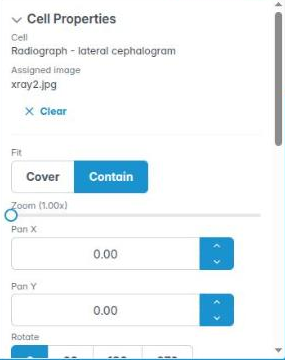
Click a cell to adjust its image under Cell Properties: Fit (Cover or Contain), Zoom, Pan, Rotate, mirror and a caption. Clear empties the cell.
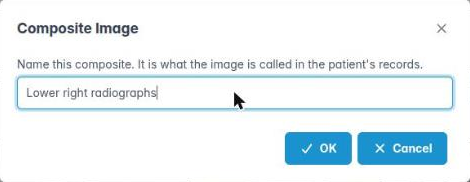
Click Save and give the composite a name; it is what the image is called in the patient’s records. The arrow next to Save has Save as new, Download JPEG and Download PNG.
The composite appears on the Images tab, tagged Composite. Right-click it and choose Edit composite to change it, or Delete this composite; the image it made is archived and the photographs it was built from are not affected.
Images on teeth
With the new dental chart you can also link an image to the teeth it shows: drag it from the chart’s Images tray onto a tooth. See Getting started with the dental chart.