
The reception tablet lets patients check their own details, take a new photo, fill in forms and leave feedback while they wait. Nothing the patient changes goes straight onto their record: reception checks each change first. This guide covers Chiral Cloud 2.0.77 and later.
Setting up the tablet
- Sign the tablet in as your practice’s tablet-only user. The tablet then shows its own screens only, never the rest of Chiral Cloud.
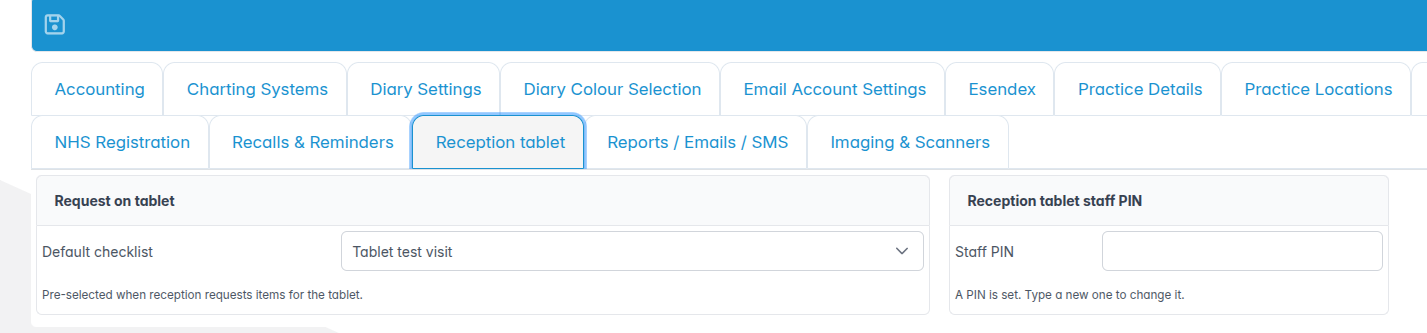
- Staff PIN: in Preferences › Reception tablet, set the PIN staff type to unlock the tablet. Patients never see it.
- Default checklist: in the same place, choose the checklist that is ticked for you when you ask a patient to use the tablet.
- Checklist items: in Housekeeping › Check Lists, give each item a Complete on setting: a chosen form, an upload of a chosen document type, Details updated or Feedback requested. The item ticks itself when the patient does it on the tablet.
- Your practice’s look: in Portal Designer, the Reception tablet page sets the tablet’s colour, logo, background and its welcome, instruction and hand-back messages.

Asking a patient to use the tablet
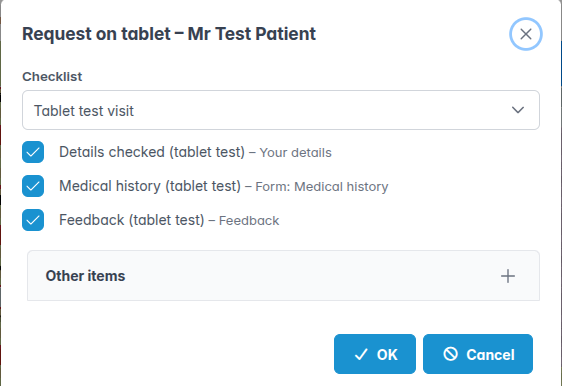
Right-click the patient’s appointment in the diary, or the patient in Find Patients, and choose Request on tablet…. Your default checklist is chosen for you, with its tablet items ticked: checking their details, the forms to fill in, and feedback. Untick anything you don’t need, or pick a different checklist, then press OK. The dialog also lists anything already asked for today.
Handing over the tablet
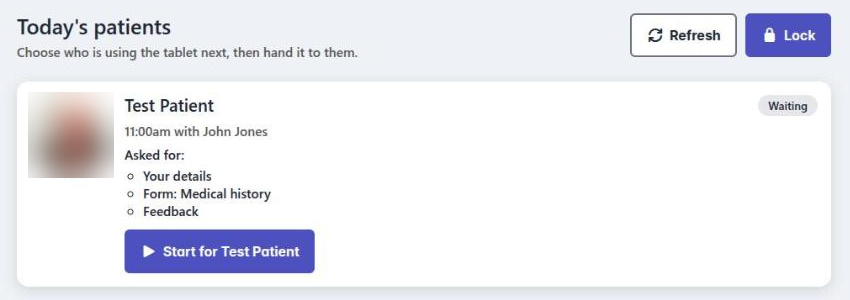
- Unlock the tablet with the staff PIN. It lists today’s patients who have something to do, with their photos.
- Tap Start for the patient and hand the tablet over.
- If you need the tablet back before you start, press Lock. The tablet also locks itself after a few minutes without use.
What the patient does
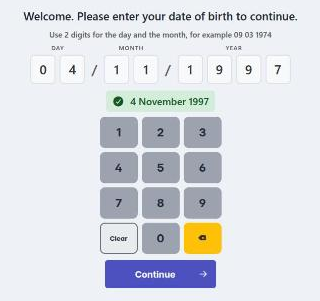
- Date of birth: the patient types their date of birth to show it’s them. Nobody’s name appears until it matches.
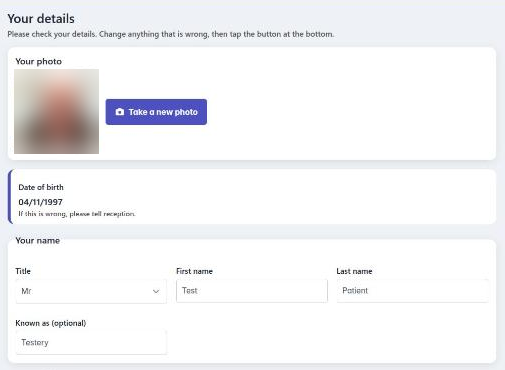
- Your details: they check their name, address, phone numbers and email, change anything that’s wrong, and can take a new photo. Their date of birth is shown but can’t be changed; if it’s wrong, they tell reception.
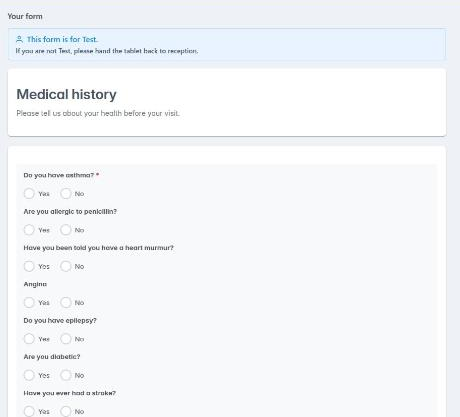
- Forms: they fill in the forms you asked for.
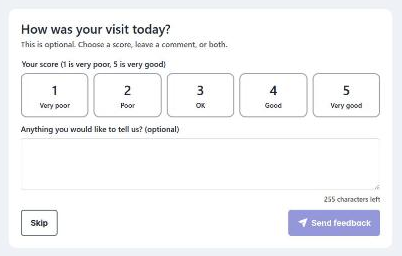
- Feedback: they can give a score from 1 to 5 and a short comment, or skip it. Feedback is anonymous.
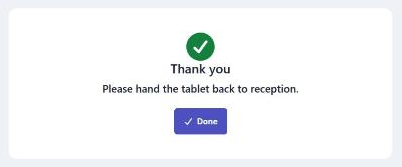
- The tablet thanks them and asks them to hand it back to reception.
Checking the patient’s changes
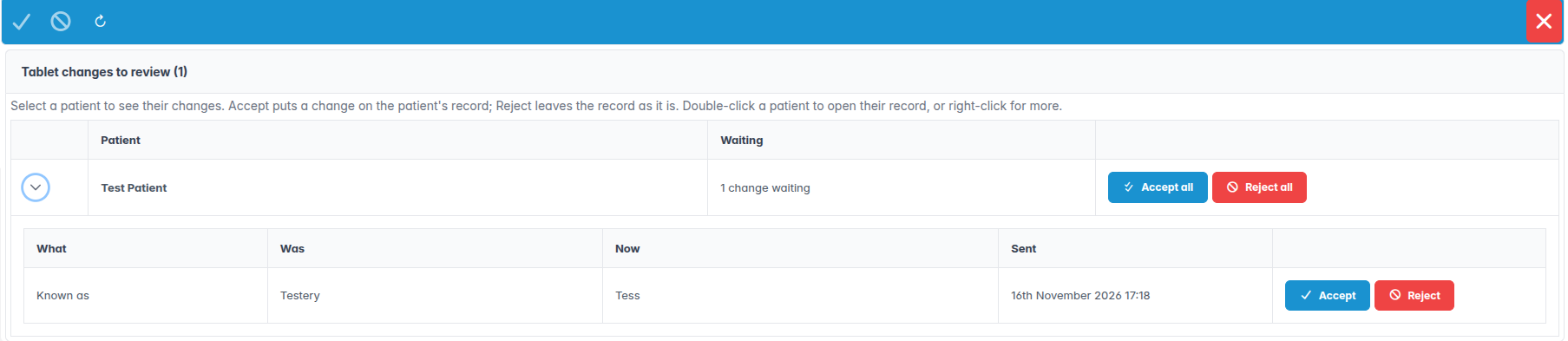
Changes and new photos wait in Diary › Tablet changes to review. Each patient has one row showing how many changes are waiting. Open the row to see each change, what it was before and what the patient entered, and press Accept to put it on the record or Reject to leave the record as it is. Accept all and Reject all deal with all of one patient’s changes at once, after asking you to confirm.
Good to know
- Signing treatment and payment plans on the tablet is coming in a later release.
- Photos must be JPEG or PNG pictures.
- Patient feedback from the tablet appears in Reports › Data Centre › Practice pulse.
- The old tablet screens, including Tablet Registrations, have been replaced by this journey.